
Construction Methods of Stone Adhesive
Stone adhesive, designed for bonding natural stone (marble, granite, travertine) and engineered stone (sintered stone, quartz stone), requires targeted construction methods based on application scenarios (wall, floor, countertops) and stone types. Below are the core methods, along with key steps and precautions:
1. Wet Pasting Method (Suitable for Small-to-Medium Stone Tiles on Indoor Walls/Floors)
The wet pasting method uses stone adhesive mixed with a small amount of water (or applied directly as a ready-mix product) to bond stones to substrates (concrete, cement backer board). It is ideal for indoor non-load-bearing walls (e.g., bathroom wall tiles, living room accent walls) and small stone tiles (≤600×600mm) where heavy load is not a concern.
Key Steps:
- Substrate Preparation: Ensure the substrate (wall/floor) is flat, clean, and dry—remove dust, oil, or loose particles. Repair cracks or uneven areas with mortar to avoid adhesive failure.
- Adhesive Preparation: For powder-type stone adhesive, mix it with clean water at a ratio of 1:0.25–0.3 (by weight) until it forms a smooth, lump-free paste. Let it stand for 5–10 minutes to activate additives, then stir again before use. Ready-mix adhesive can be used directly.
- Applying Adhesive: Use a notched trowel (tooth size: 6–10mm for small stones) to spread the adhesive evenly on the substrate, creating ridge-like patterns—this ensures full contact with the stone back. For stone back surfaces, apply a thin layer of adhesive (2–3mm) to enhance bonding (called “back buttering”).
- Stone Installation: Press the stone firmly onto the adhesive, adjusting its position within 10–15 minutes (before the adhesive sets). Use spacers (2–5mm) to maintain uniform joints between stones. Tap the stone lightly with a rubber mallet to eliminate air bubbles and ensure tight bonding.
- Curing & Cleaning: Allow the adhesive to cure for 24–48 hours (avoid foot traffic or water contact during this period). After curing, clean excess adhesive from stone surfaces with a damp cloth or neutral cleaner.
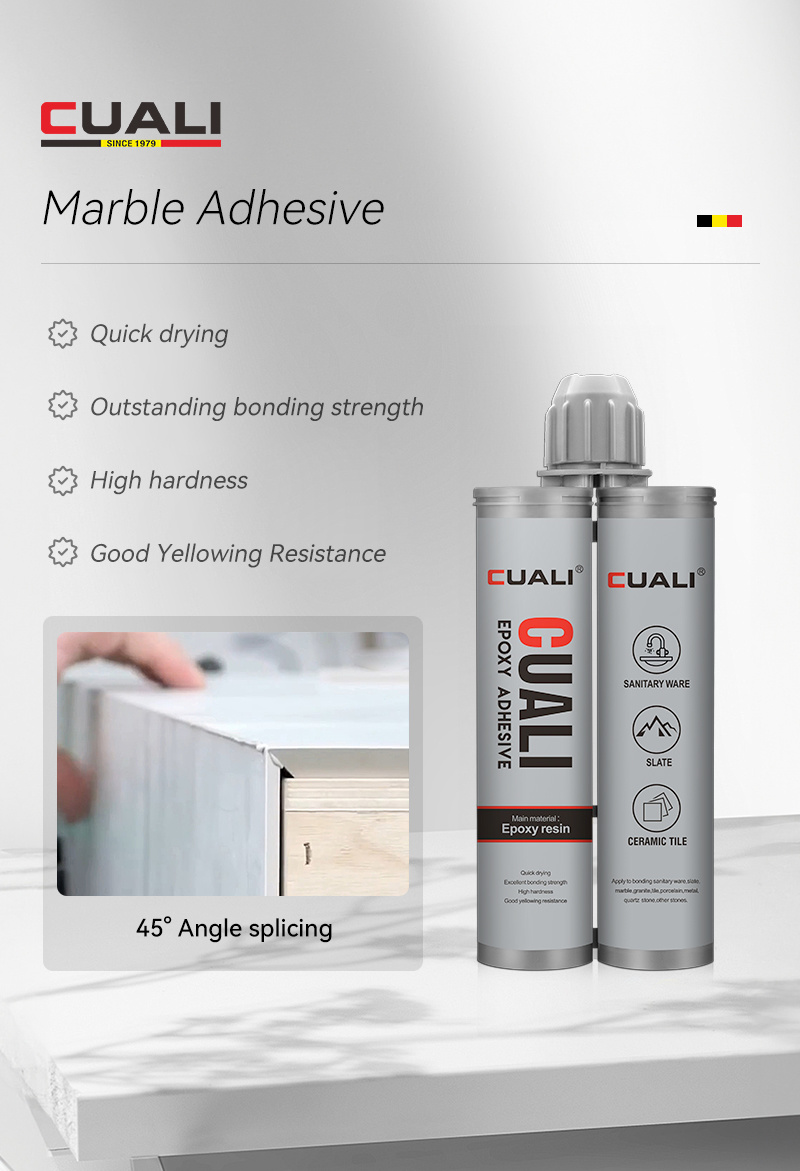
2. Dry Hanging Method (Suitable for Large/Heavy Stones on High Walls/Exteriors)
The dry hanging method uses stone adhesive combined with mechanical fasteners (e.g., angle brackets, bolts) to fix large/heavy stones (e.g., 800×1600mm marble slabs, outdoor granite cladding) to substrates. It avoids substrate moisture damage and is widely used in high-rise building exteriors, hotel lobby feature walls, and large stone countertops (e.g., restaurant islands).
Key Steps:
- Substrate & Fastener Installation: Install a metal frame (aluminum or stainless steel) on the concrete substrate using expansion bolts—ensure the frame is level and load-bearing (test to support 1.5× the stone’s weight). Attach angle brackets to the frame at intervals of 400–600mm (based on stone size).
- Stone Grooving/Drilling: Cut a 5–8mm deep groove on the back edge of the stone (or drill holes for anchor pins) to match the angle brackets. Clean the groove/holes to remove stone dust.
- Adhesive Application: Apply a high-strength structural stone adhesive (e.g., epoxy-based) into the stone’s grooves or holes—fill 80% of the space to avoid air gaps.
- Stone Hanging: Hang the stone on the angle brackets, inserting the brackets into the adhesive-filled grooves. Adjust the stone’s position using shims to ensure it is level and aligned with adjacent stones.
- Curing & Sealing: Let the adhesive cure for 72 hours (epoxy-based adhesives require longer curing than cement-based ones). After curing, seal the joints between stones with stone sealant to prevent water infiltration.
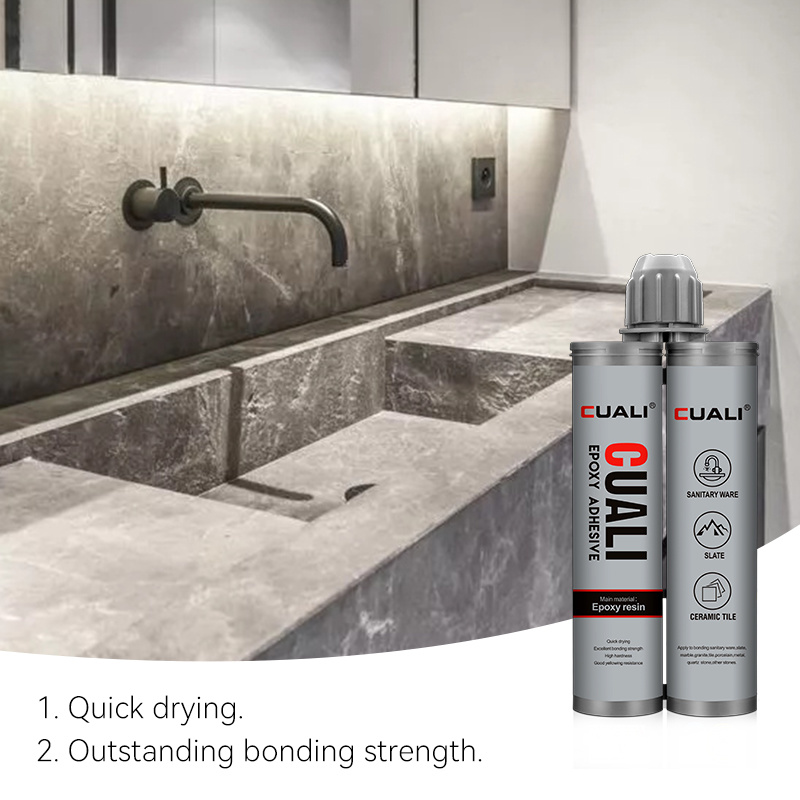
3. Countertop Bonding Method (Suitable for Stone Countertops in Kitchens/Bathrooms)
Stone countertops (e.g., quartz stone kitchen countertops, marble vanity tops) require precise adhesive application to withstand daily impacts, water, and heat. This method combines partial wet pasting with joint bonding.
Key Steps:
- Countertop Substrate Prep: Ensure the cabinet base is flat and stable (reinforce with plywood if needed). Clean the cabinet surface to remove dust or oil.
- Adhesive Selection: Use heat-resistant, water-resistant stone adhesive (e.g., epoxy resin-based) to avoid deformation from hot cookware or bathroom moisture.
- Base Bonding: Apply a 3–5mm thick layer of adhesive to the cabinet surface (focus on edge areas for load-bearing). Carefully place the stone countertop on the adhesive, adjusting its position to align with cabinet edges.
- Joint Splicing (for L-shaped/long countertops): For spliced countertops (e.g., L-shaped kitchen tops), apply adhesive to the joint surfaces of two stone slabs. Clamp the slabs together with G-clamps (use protective pads to avoid stone scratches) and let the adhesive cure for 48 hours. After curing, 打磨 (sand) the joint to create a seamless finish.
- Edge Treatment: Apply adhesive to stone edging strips (if using) and attach them to the countertop’s edges. Cure for 24 hours, then sand and polish the edges to match the countertop surface.
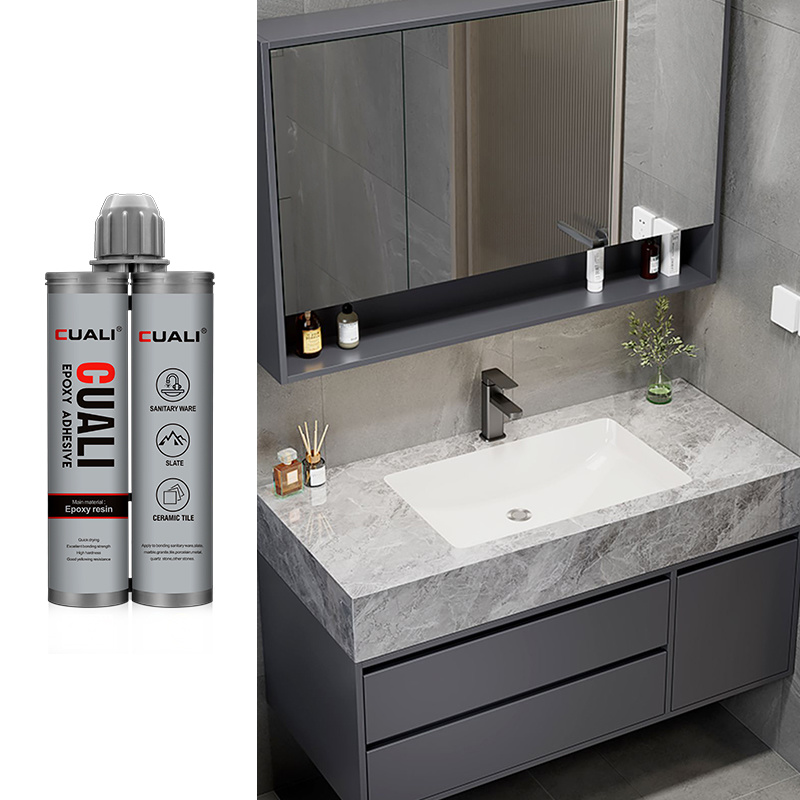
4. Repair & Patching Method (Suitable for Stone Cracks/Chips)
This method uses stone adhesive to fix minor damage (e.g., marble cracks, quartz stone chips) without replacing the entire stone. It is common for residential stone floors, vanity tops, and decorative stone accents.
Key Steps:
- Damage Preparation: Clean the crack/chip with a dry brush to remove dust. For deep cracks, use a small drill to widen the opening slightly (3–5mm) to improve adhesive penetration.
- Adhesive Coloring (Optional): Mix stone pigment into the adhesive to match the stone’s color (test the color on a small invisible area first).
- Filling & Shaping: Apply the colored adhesive into the crack/chip using a small spatula, filling it completely. Smooth the adhesive surface to match the stone’s contour.
- Curing & Polishing: Let the adhesive cure for 24 hours. After curing, sand the repaired area with fine-grit sandpaper (800–1200 grit) until it is flush with the stone surface. Polish with a stone polisher to restore the stone’s shine.
Summary:
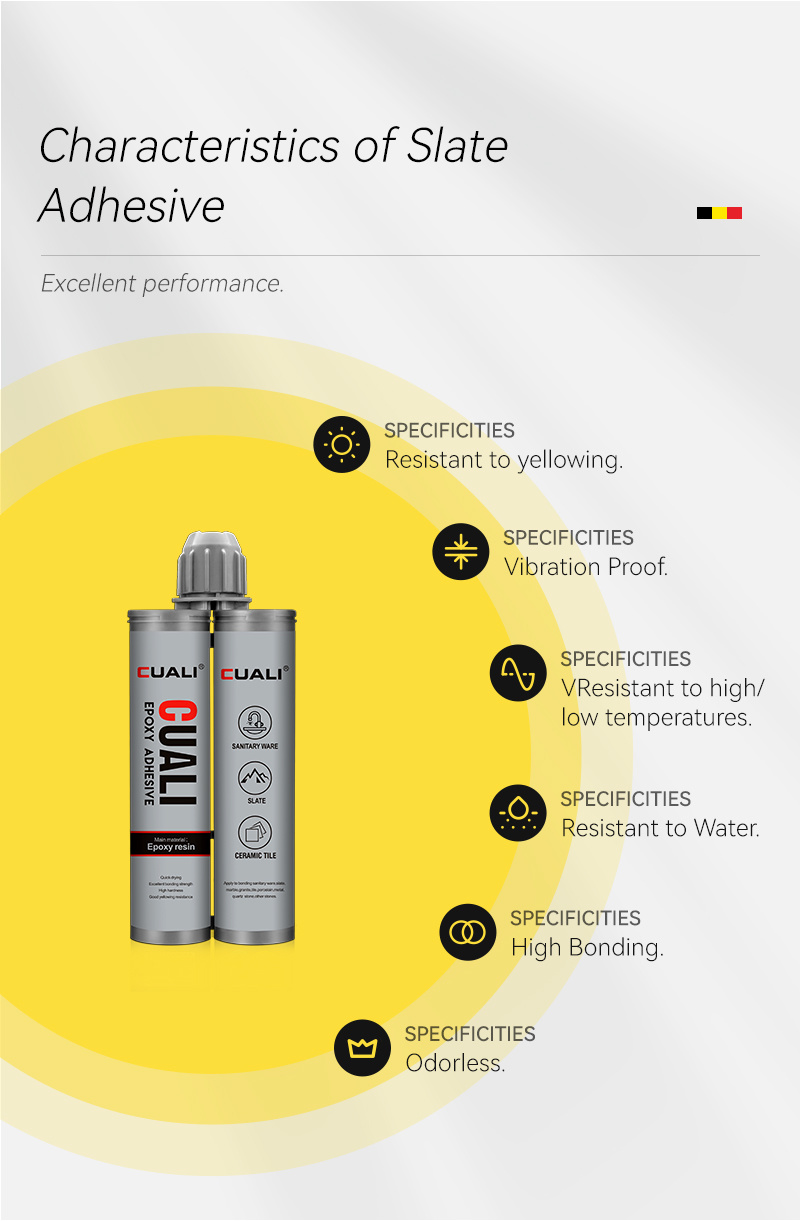
Stone adhesive construction methods vary by scenario: wet pasting for small indoor stones, dry hanging for large/heavy exterior stones, countertop bonding for kitchen/bathroom tops, and repair patching for minor damage. All methods require proper substrate preparation, correct adhesive selection, and strict curing to ensure durability.
Time:
2025-08-29
More News
